So... time got the best of me and I'm employing the help of James and his shop RTR Performance to help finish the teg. Tracking the progress here on this thread at Racecentex.com
RaceCentex.com Forums
Saturday, June 18, 2011
Sunday, May 22, 2011

Saturday, May 14, 2011
Order a lot of stuff!
The rebuild/refurb continues... Waiting on parts to arrive!
-ARP pressure plate and flywheel bolts
-ARP head studs
-Exedy OE clutch kit and Fidanze 7.5lb flywheel
-OEM head gasket
-New black carpet with massbacking from stockinteriors.com!
The rest of the car is still in pieces. Dash is still out, still working on the wire tuck and still need to beef up the ugly welds. It's a work in progress just to build a daily driver. haha.
Friday, March 18, 2011
And the motor is out for the first time.
Pulled my motor today. Borrowed a hoist and some buddy's knowledge and did work. Got myself a JEGS Engine stand but found the bolt kit for it doesn't fit. So I've got to get some bolts with the same pitch as the tranny bolts and get her up on a stand. While doing all this found I could use a new clutch and flywheel. My teg came with a 6 puck (brand unknown) but according to my buddy it looks like it could be replaced. Never had an issue with it but I figured while I have everything apart I might as well replace things that need replacing.
Thursday, February 24, 2011

Monday, February 21, 2011
Made a lot of progress...then hit a snag.
Well, I think I made a lot of progress today. In 3 hours of work I got the JDM radiator support separated, and the drivers side mocked up. The snag I hit was on the passenger side. The oem hid ballast won't fit with the ABS unit in place. So it looks like I'm removing ABS earlier than I planned.
 |
| Here's the JDM radiator support with everything removed right before i started spot weld drilling...again. |
 |
| Here's the driver side of the JDM support with spot welds drilled. |
 |
| Here's the JDM radiator support separated from the rest of the nose cut. |
 |
| Here's the JDM radiator support bolted in place. |
 |
| View of the two bolts holding it in place for mocking up purposes. Corresponding two are holding the other side up. |
 |
| Here's a view of passenger side headlight hitting the ABS unit. Notice how far the headlight mounting holes are from where they are suppose to be. =( |
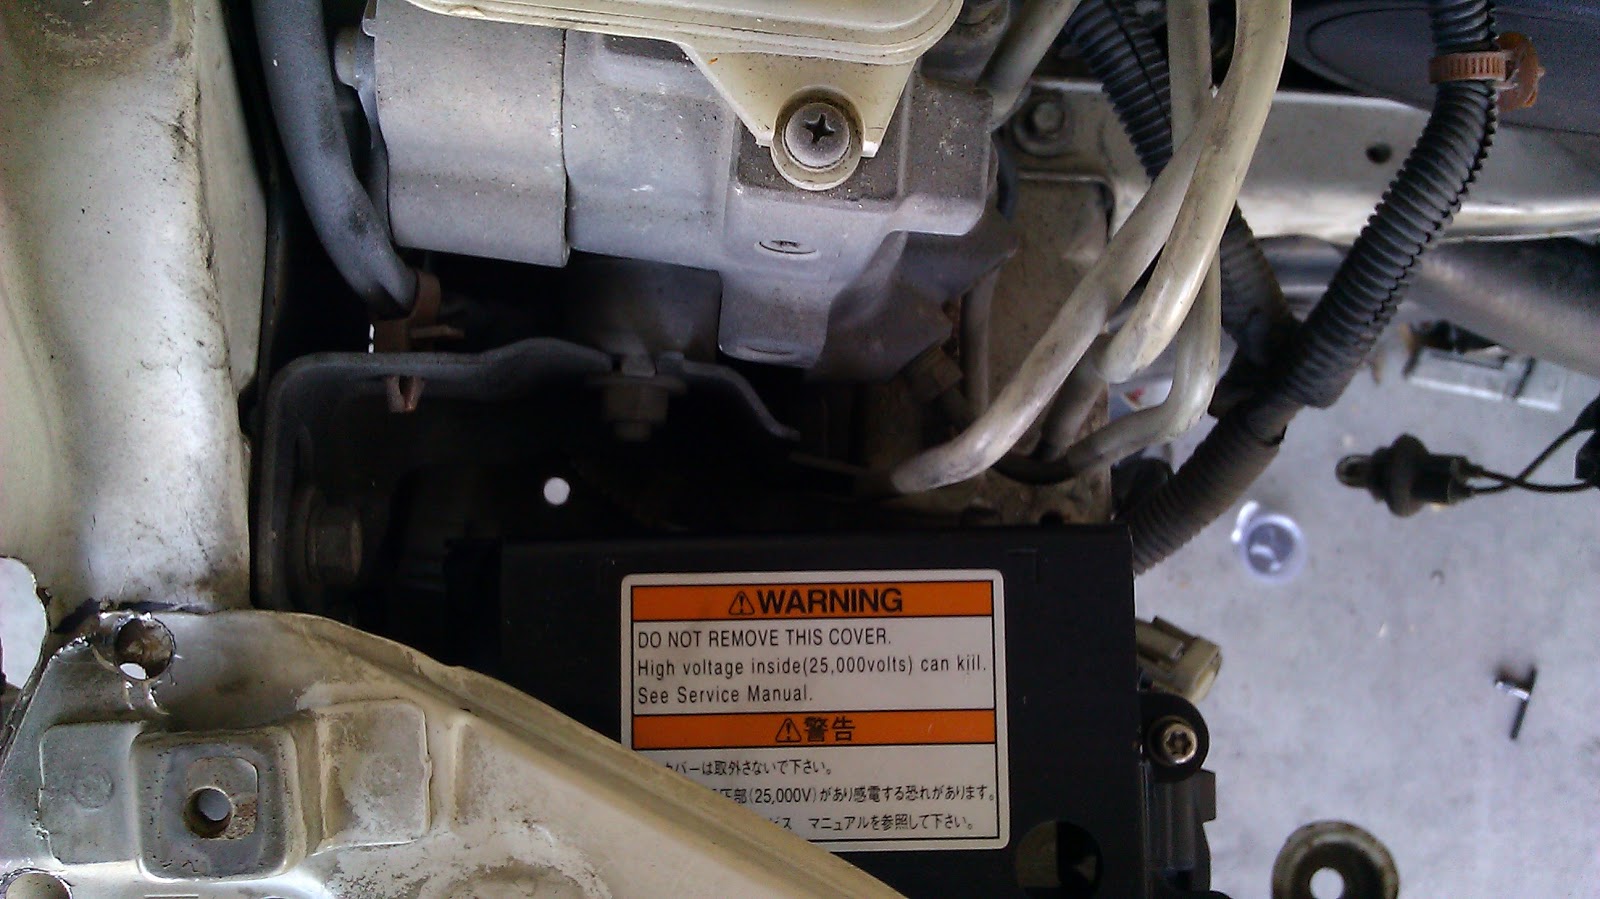 |
| Closer view of the HID ballast hitting the ABS unit. |
 |
And a teaser shot. The drivers side mocked up. Everything looks lined up so far the headlight and fenders meet perfectly! =)   |
Saturday, February 19, 2011
I hate drilling spot welds.
Got some work done today. I was able to remove my USDM radiator support. Took about 4 or 5 hours to drill out all the spot welds and get the support completely off. I bought two 3/8" Double Sided Rotary Spot Weld Cutter's from Harborfreight.com and with a 3/8" Reversible Air Drill With Keyed Chuck and Key from Harbor Freight as well. Drilling out the spot welds was not fun. There are way too many of them. There are a few that are not on completely flat areas so keeping the bit steady was a little difficult. After I drilled all the welds out I to a chisel and 3lb mallet to the areas that I couldn't pull off by hand. Some areas of the radiator support just popped off after drilling the spot welds out. Others needed some encouragement from my chisel and mallet.
I'm only half way there after removing the USDM support. I've gotta drill out all the spot welds on the JDM nosecut. I'll continue that another day.
 |
| Here's the USDM support right before I started on the spot welds. Everything basically removed. |
 |
| Passenger side. After drilling a handful of spot welds out. |
 |
| Drivers side. You can see where the drill bit walks. |
 |
| The USDM support finally off after quite a few hours of work! |
 |
| My front end without a radiator support. |
 |
| Drivers side without the support. Got some cleaning up of the metal to do. |
 |
| Passenger side without the radiator support. More cleaning off to do. |
Subscribe to:
Posts (Atom)